Self tanning can be the difference between a gorgeous, sun-kissed glow and looking like you wrestled a bag of Cheetos. The product itself is not usually the problem. It is the prep and application that make or break the results. Get those right, and nobody will be able to tell it is not from the sun.
How self tan actually works
Before we dive into technique, it helps to understand what is happening. Self tanners contain an ingredient called DHA (dihydroxyacetone), which reacts with amino acids in the outermost layer of your skin to create a brown pigment. This is a chemical reaction, not a dye, which is why it develops over several hours and fades as your skin naturally sheds dead cells.
Because DHA reacts with dead skin cells on the surface, the condition and evenness of those cells determines how your tan turns out. Rough, dry patches absorb more DHA and turn darker. Smooth, evenly exfoliated skin produces uniform color. That is why prep is literally everything.
The prep: 24 hours before application
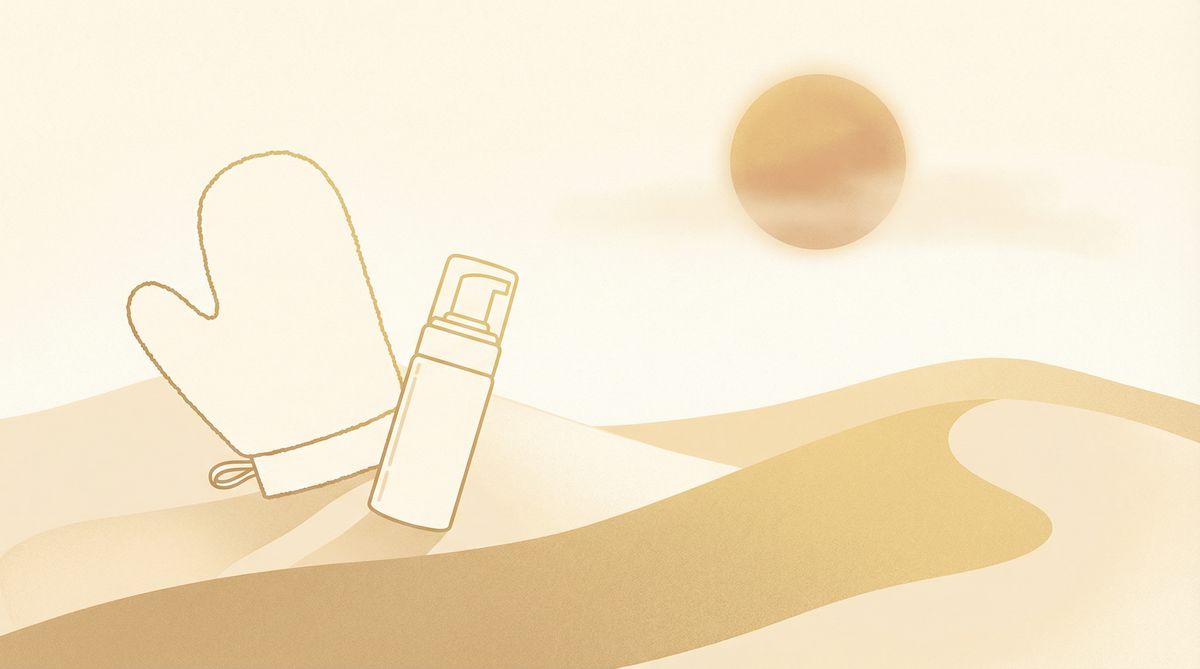
Exfoliate thoroughly. Use a gentle body scrub or exfoliating mitt in the shower. Focus on areas that tend to be rough: elbows, knees, ankles, wrists, and hands. These spots grab too much product and end up looking dark and patchy if you do not smooth them out first.
Shave or wax the day before, not the day of. Hair removal opens your pores slightly, and applying self tan immediately after can lead to dark spots in every pore. Give your skin 24 hours to calm down after shaving or waxing.
Skip heavy moisturizers on application day. A light, oil-free moisturizer is fine, but thick creams can create a barrier that prevents DHA from reaching your skin evenly. On the day of application, just make sure your skin is clean and dry.
Do apply barrier cream to problem areas. Right before applying self tanner, put a thin layer of regular moisturizer on your elbows, knees, ankles, between fingers, and along your hairline. These areas are drier and absorb more product, so the moisturizer acts as a barrier to prevent them from going too dark.
Choosing the right product
Self tanners come in several formats, and the right one depends on your experience level and preferences.
Mousse: The most popular format. Easy to spread, dries quickly, and gives even coverage. Great for beginners and experienced tanners alike. Look for formulas with a guide color (tinted so you can see where you have applied) for easier application.
Lotion: Thicker and more moisturizing. Works well for dry skin but can be harder to blend evenly. Takes longer to dry, so be patient before getting dressed.
Gradual tanner: A moisturizer with a small amount of DHA that builds color over several days. Very forgiving (hard to mess up) but the results are more subtle. Great for maintaining an existing tan or for beginners who are nervous about going too dark.
Drops: Concentrated DHA that you mix into your regular moisturizer. Good for customizing darkness levels, especially on the face. Start with just a few drops and build up.
For product recommendations, our best tanning products guide covers top picks in each category.
Application: the step-by-step method
Always use a tanning mitt. Bare hands mean orange palms. A mitt gives you even application and keeps your hands clean. If you do not have a mitt, use a clean makeup sponge or latex gloves as a backup.
Start from the bottom and work up. Begin with your feet and legs, then move to your torso, arms, and finish with your face and neck. This prevents you from bending over and creasing wet product on your stomach.
Use long, sweeping motions. Circular rubbing can create streaks. Long, even strokes blend the product smoothly. Work in sections and make sure each area is fully covered before moving on.
Use less on joints and tricky areas. Elbows, knees, wrists, ankles, and hands need less product. After applying to your limbs, use whatever is left on your mitt (do not add more product) and lightly sweep over these areas. Less is more here.
Blend at the edges. Where your tan meets untanned skin (wrists, ankles, neckline), blend carefully with light strokes. Harsh lines are the biggest giveaway of a self tan.
Face application. Use a small amount, less than you think you need. Blend from the center outward, avoiding the eyebrows, hairline, and nostrils. Mix self tanner with a bit of moisturizer for a sheerer, more natural look on the face. For more face-specific tips, check our face tanning guide.
Wash your hands immediately after. Even with a mitt, some product transfers. Wash your hands thoroughly with soap right after finishing, paying attention to between your fingers and around your nails.
The developing period
Once applied, DHA needs time to react with your skin. Most self tanners need 6 to 8 hours to fully develop, though some express formulas work in 1 to 3 hours. During this time, do not shower, sweat, or get wet. Wear loose, dark clothing to avoid staining and to prevent the product from rubbing off.
Your first application should be a single, even coat. It is always better to go lighter than you think and build up with a second application the next day. Going too dark on the first try is the number one self tanning regret.
After the first shower
When it is time to shower, use lukewarm water and a gentle body wash. You will see some color washing off, that is the guide color (cosmetic bronzer), not your actual tan. The DHA-developed color stays. Pat dry gently, do not rub. Then apply a good moisturizer to lock everything in.
Self tan for different body parts
Not every area of your body responds to self tanner the same way, and treating everywhere identically is a recipe for uneven results.
Legs. Legs tend to be drier than the rest of your body, so they can absorb more DHA and go darker or patchier if you are not careful. Exfoliate your legs extra thoroughly the day before, and moisturize your knees and ankles right before application. Use long, upward strokes and blend carefully around your kneecaps. If your legs look streaky, a damp mitt lightly buffed over the area right after application smooths things out.
Arms and hands. Apply product to your arms using the same long strokes you use on your legs. When you reach your hands, use the leftover product on the mitt rather than pumping fresh product. Blend lightly between your fingers and over your knuckles, these spots go orange fast. Some people find it helpful to wash their hands completely and then use a tiny amount blended with moisturizer just on the backs of their hands.
Chest and stomach. These areas are usually pretty smooth and take self tanner well. The main risk here is forgetting to blend at the neckline. Make sure you carry the product up to your jawline and blend with what you applied on your face. If you have chest hair, the tanner will still work but the hair can cause slight unevenness, apply in the direction of hair growth for the smoothest finish.
Back. This is the hardest spot to reach. A back applicator mitt (they exist) is helpful, or ask someone to help. Alternatively, a spray self tanner reaches spots your hands cannot. Missing your back entirely is better than having patchy, poorly blended product there.
If you are unsure what skin type you have and how products might interact with your skin tone, take our skin type quiz. It gives you personalized recommendations in about 30 seconds.
Maintaining your self tan
Self tan typically lasts 5 to 7 days before fading. To extend it, moisturize daily (twice if possible), avoid long hot baths or showers, and do not exfoliate aggressively. When it starts to fade unevenly, a light exfoliation followed by a new application evens things out.
Timing your reapplication is important. Most people find that applying a fresh coat every 5 days keeps things looking seamless. If you wait until the old tan has fully faded, you will have a day or two of patchiness before the new application. Layering a fresh coat over a slightly faded one produces the most natural, consistent results. Keep a calendar reminder so you do not forget.
When things go wrong
Even with perfect technique, sometimes things happen. Here is how to fix common issues.
Streaks: Gently exfoliate the streaky areas with a scrub or mitt, then reapply lightly.
Too dark: A long bath with an exfoliating mitt will take several shades off. Lemon juice mixed with baking soda can help lighten stubborn spots.
Orange tone: This usually happens with cheap products or over-application. Exfoliate to remove the current layer and switch to a product with a cooler or olive undertone. For more fixes, check how to get rid of a tan.
Self tanning is genuinely a skill, and it gets easier with practice. Once you nail the prep and application technique, it becomes second nature. For more tricks and shortcuts, our self tan hacks article is full of gems. And remember, a self tan is sun-safe color, it does not protect you from UV, so you still need SPF 30 when heading outside.